Table of Contents
Introduction
This is the first in a series of posts I’ll make about Spark. This post is just a step-by-step guide for installing Spark on your machine. Initially, we’ll install it on a single machine, but later we’ll create a cluster to simulate a production environment with Spark.
Let’s get to work!
For this installation, we’ll use Linux Ubuntu. To get started, you’ll need:
-
Oracle Virtual Machine: I’ll use Oracle Virtual Machine, but feel free to use Hyper-V or VMware, whatever you prefer.
-
Linux Ubuntu image.
Step by Step
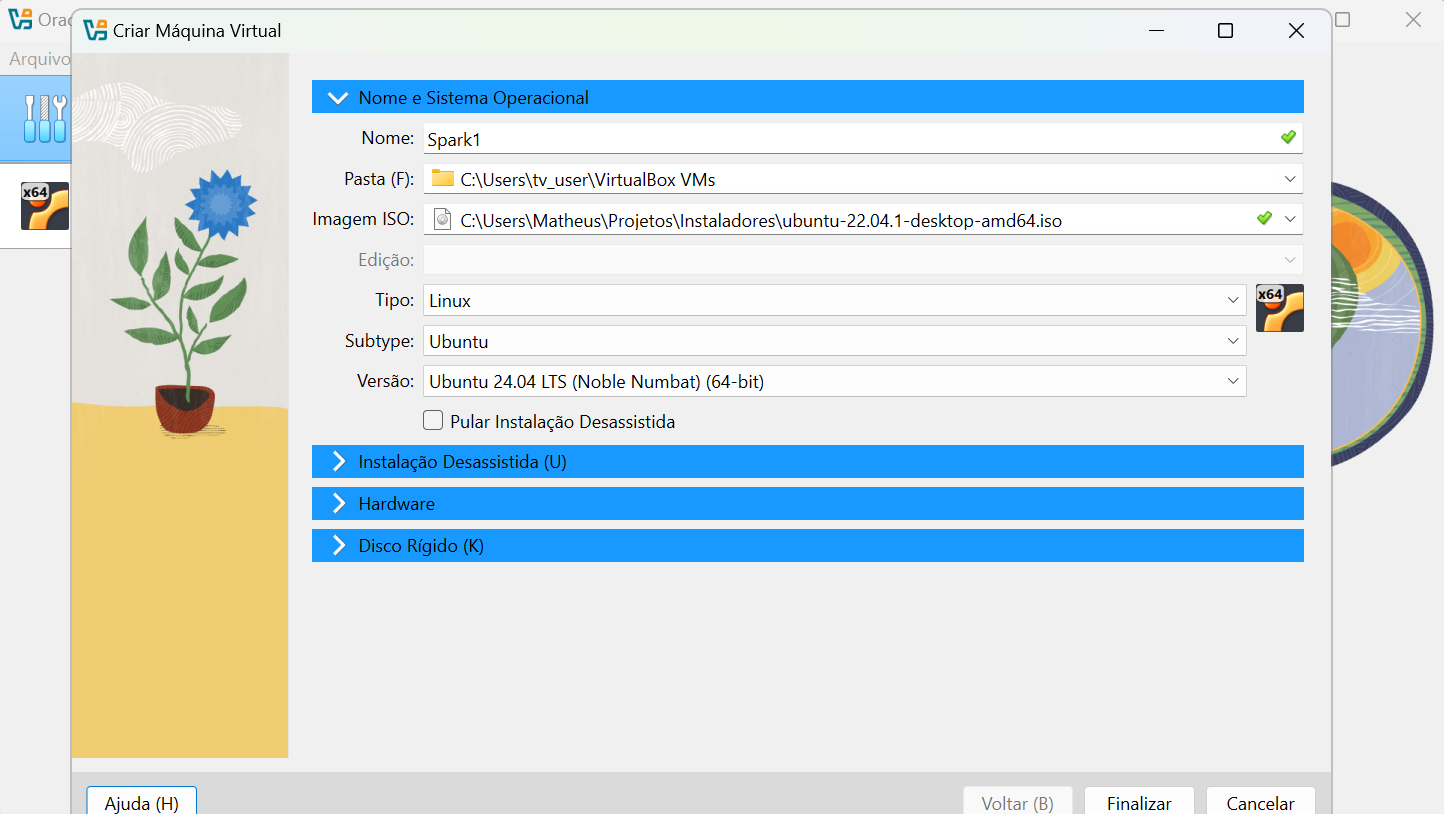
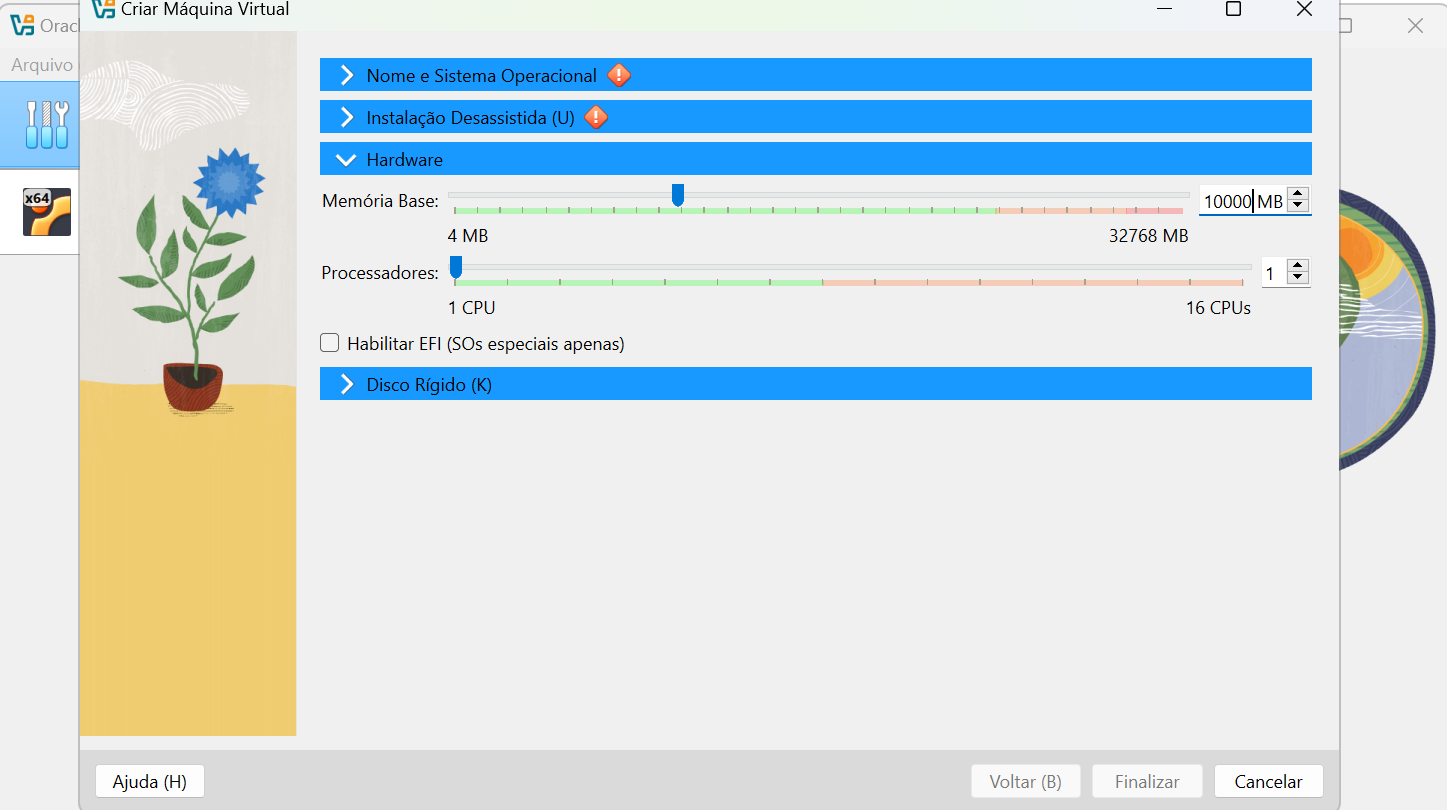
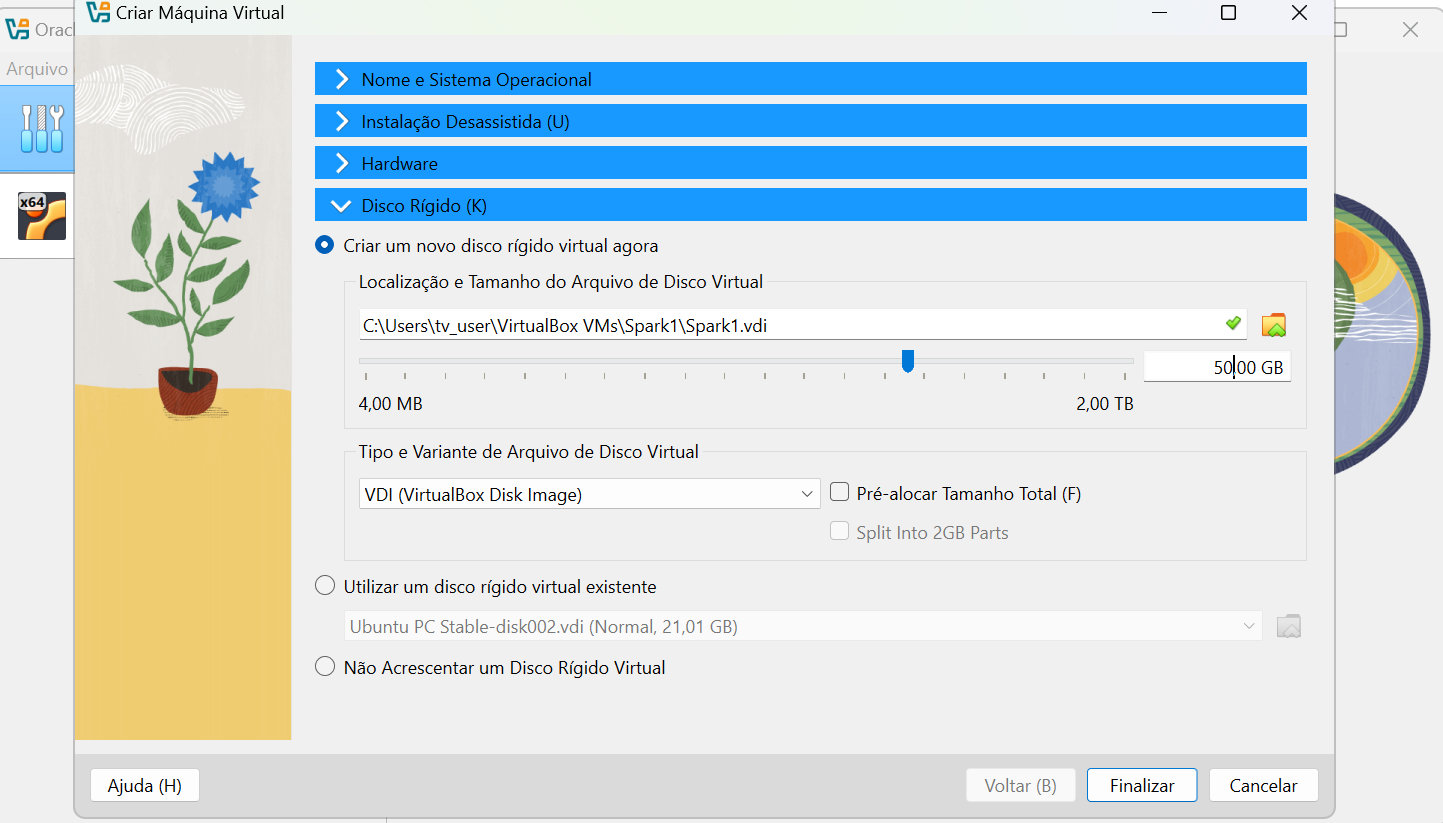
First, you need to create the virtual machine. I recommend creating at least 10GB of RAM and 50GB of disk space, so you won’t have problems after installing the dependencies.
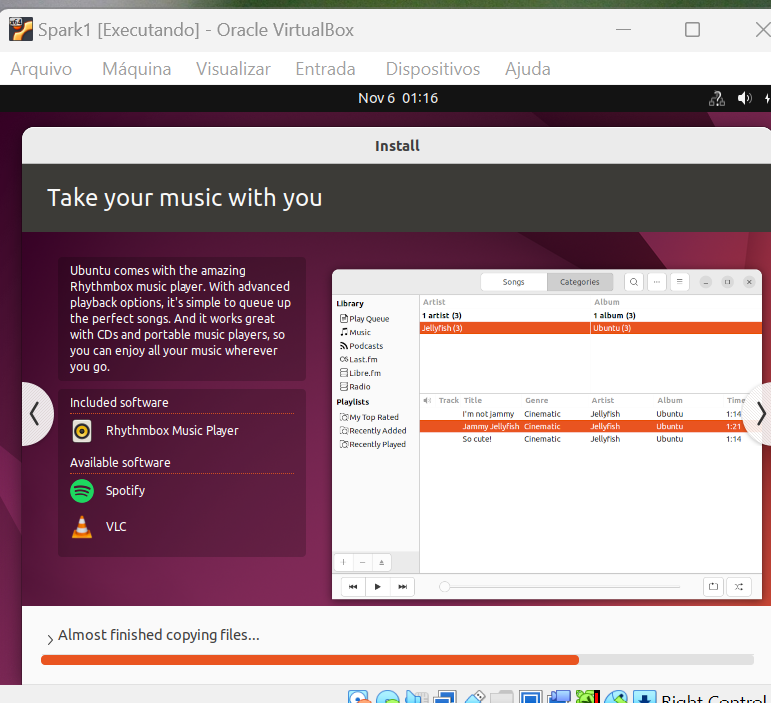
Wait for the installation, it should take a few minutes…
After that, I faced some problems hahaha (two specifically), user permission problem without sudo and DNS. So, I’ve separated here exactly how I solved each one of them:
su -
usermod -a -G sudo vboxuser
Since I used the default OracleVM method -> in it the user is vboxuser and the password is changeme, but it comes without permissions. That’s why we have to run this command. After that, restart the VM and proceed.
I also had a DNS problem, if you can’t reach the internet through the default URL, to solve this problem I performed the following commands:
sudo nano /etc/resolv.conf

    I added nameserver 8.8.8.8 inside this file.
Maybe you won’t experience these problems, but if you do, just follow the step-by-step above. Solving these problems, just proceed:
0. sudo apt update

	For updates.

1. sudo apt install curl mlocate default-jdk -y

	Installs JAVA JDK.

2. sudo dpkg --configure -a

	For updates.

3. sudo apt -y upgrade

	For updates.

4. wget https://dlcdn.apache.org/spark/spark-3.5.3/spark-3.5.3-bin-hadoop3.tgz

	This command will download the content from this link
	This link was generated by https://spark.apache.org/downloads.html

5. tar xvf spark-3.5.3-bin-hadoop3.tgz

	This command will extract the .tgz file into a folder

6. sudo mv spark-3.5.3-bin-hadoop3/ /opt/spark

	This command will move the folder to the default spark folder which is /opt/spark

7. sudo gedit ~/.bashrc

	This command will open the default Linux text editor for
	environment variables.
	There we should edit and add the spark_home and path variables as follows:

    export SPARK_HOME=/opt/spark
    export PATH=$PATH:$SPARK_HOME/bin:$SPARK_HOME/sbin

8. source ~/.bashrc

	This command applies the changes made to environment variables.

9. start-master.sh

	Initializes spark on your computer.
In step 10, enter the URL that appears in the master. The master URL should appear at localhost:8080:

10. /opt/spark/sbin/start-worker.sh {master url}

11. pyspark

	Initializes spark in Python.
At the end it will look like this:
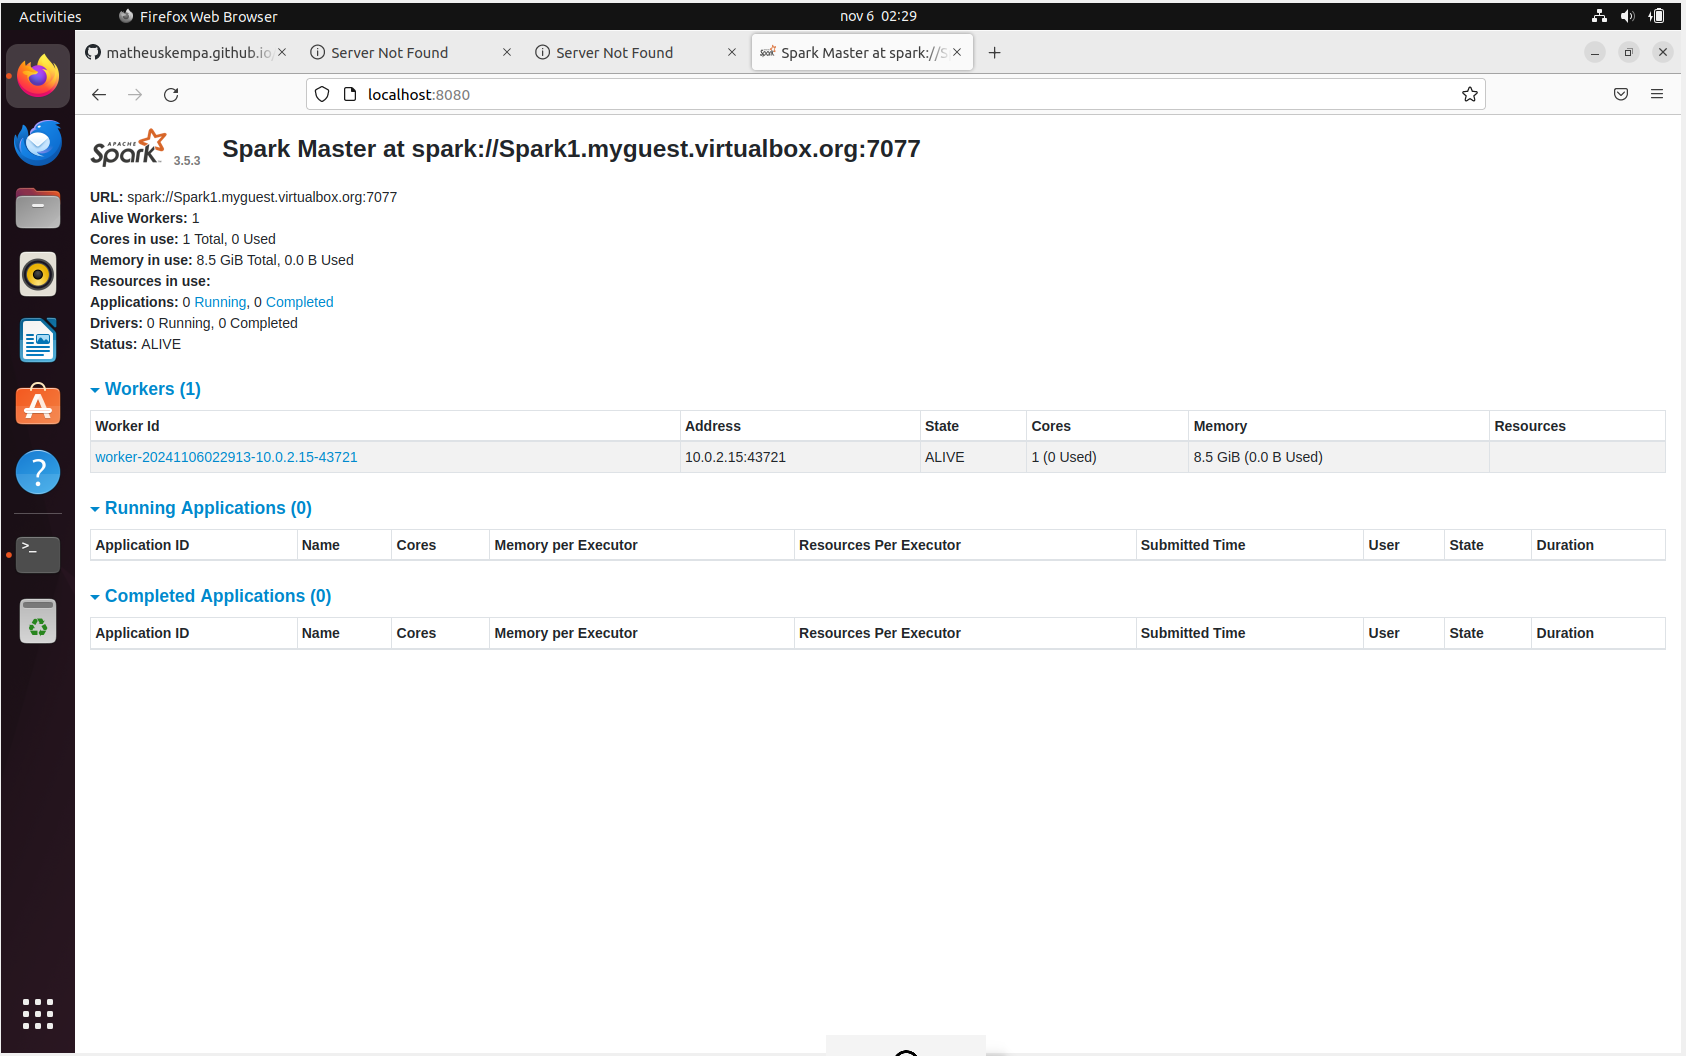
Conclusion
At the end of this entire step-by-step process, you should have Spark properly installed on your machine and operating 100%!
I know this post was relatively short, I hope you’re not disappointed. However, this is just the first post in the series about Spark. It will be important, as we’ll replicate it for the next machines we’ll use for the cluster.
Thank you! And best regards!
06 Nov 2024 - Matheus Kempa Severino